
An Introduction to the Basics
How to Use Canva to Customize your purchased Template
Step 1. Create an account on Canva it’s free.
Step 2. Open the pdf document which was included with your purchased files. The Pdf contains a link that will open a new window for you on Canva. In case you didn’t create an account, it will ask you to.
Step 3. Once the window opens you will be transferred to the Canva editor where many options for you will be available here.
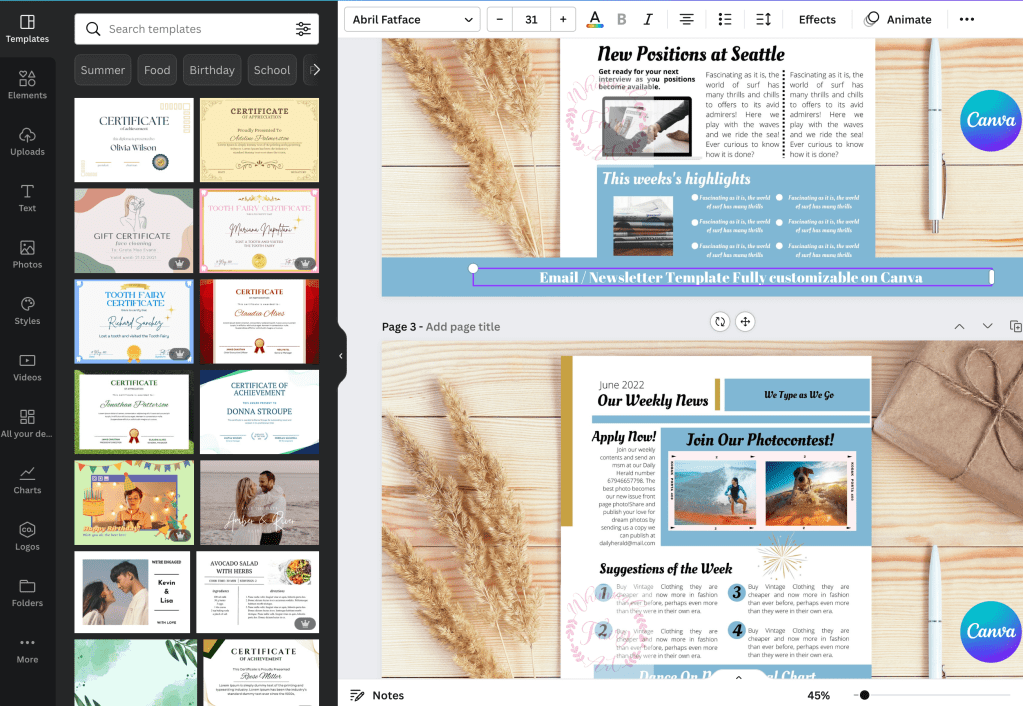
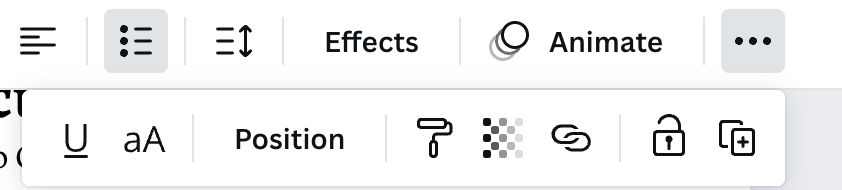
From the top bar, you can adjust the fonts, the font size, color of text and also change the alignment and the spacing. Select the … bullet sign to see more options such as fixing the position, transparency, and creating a link for web pages.

Canva has many fonts available for free. The left dark panel includes both free and paid elements that you can include in your designs. To distinguish the free-to-use from the ones you need to pay just notice if there is a crown icon next to the element you want to use. The crown means it is paid.

To add an element to your design just drag it on your document and depending its properties canva top bar will show you options to futher customize it.

Use the search field on top of the black left panel to search elements such arrows, frames, boxes, layouts and many more to add to your design. Once you are done customizing go at the right upper corner to use the “Share” button. You will see available options to download your design. Canva has an auto saving system so you don’t need to save online.
This a quick guide instructions if you are using canva for first time. Take your time to explore the editor on your own and see how easy and fun it is using it.
